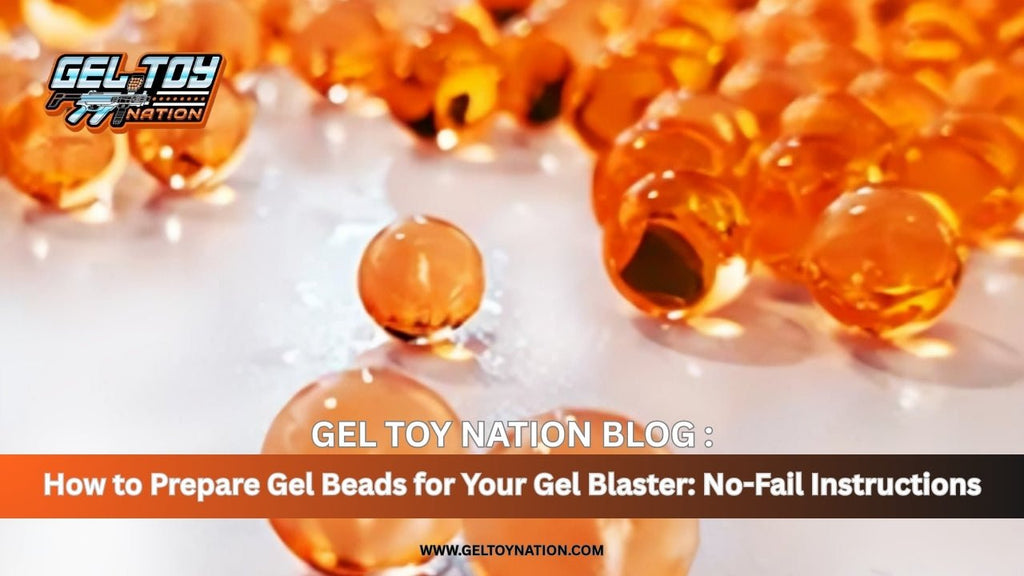
How to Prepare Gel Beads for Your Gel Blaster: No-Fail Instructions
So you've unboxed your new gel blaster, and you're ready for action. But before you load up and start firing, there's one crucial step that can make or break your entire experience: preparing your gel beads.
Getting this right is the difference between a smooth, high-performance skirmish and a frustrating afternoon of jams, misfires, and broken gels. At GelToyNation, we've seen it all. That's why we've put together this simple, no-fail guide to preparing perfect gel beads every single time.
Think of it as the ultimate recipe for success. Let's get started.
Why Proper Preparation is a Game-Changer
Gel beads aren't just simple water pellets; they're advanced superabsorbent polymers designed to expand to a precise size. Doing it correctly ensures they are:
-
Hard-Hitting: Perfectly sized beads create a tight seal in your blaster's barrel, maximizing your FPS (power) and range.
-
Accurate: Consistent size means consistent flight paths. No more wild, unpredictable shots.
-
Reliable: Well-hydrated beads are durable and far less likely to shatter in your magazine or jam your blaster.
Skip these steps, and you're asking for trouble. Follow them, and you'll have the edge on the battlefield.
Step 1: Gather Your Supplies (The Right Tools for the Job)
You don't need a lab, but you do need the right stuff:
-
Premium Gel Beads (Not all gels are created equal! Ours are engineered for consistency and durability.)
-
A large bowl or pitcher (Plastic or glass is best)
-
Bottled or Filtered Water (This is critical! Avoid tap water.)
-
A strainer or colander
-
Paper towels or a soft cloth

Step 2: The Water - This is Your Secret Weapon
This is the step everyone tries to skip. Don't be that person!
-
Forget Tap Water: The chlorine and minerals in most tap water can weaken the gel beads, making them brittle and prone to breaking. For rock-solid, reliable ammo, use bottled or filtered water.
-
Temperature is Key: Always use cool, room-temperature water. Hot water makes the beads expand too fast, creating weak spots and odd shapes. Cold water is perfect for a slow, strong, and consistent expansion.
Pro Tip: Keep a dedicated gallon of distilled water with your gear. It's the cheapest performance upgrade you'll ever make.
Step 3: The Soak - Patience is a Virtue
Now for the main event. Here's how to do it like a pro:
-
Measure: A good ratio is 1 teaspoon of dry beads to 1 cup of water. Don't overcrowd the container! They need room to grow.
-
Combine: Pour the dry beads into your large bowl of water.
-
Stir: Gently stir them around after 30 minutes to prevent clumping and ensure every bead gets hydrated evenly.
-
Wait: This is the hardest part. Let them soak for a full 3-4 hours. For ideal results, leaving them overnight is even better. They are ready when they are perfectly round, firm, and have no white, hard centers.
Step 4: Drain and Dry - The Final, Crucial Step
Your beads are fully grown, but loading them while they're dripping wet is a classic beginner mistake. Excess water in your magazine can cause feeding issues and even damage internal parts.
-
Drain: Pour the entire mixture through your strainer to remove all the water.
-
Dry: Gently spread the beads out on a layer of paper towels or a cloth and pat them dry. You're not trying to dehydrate them—just remove the surface moisture.
-
Check for Defects: Do a quick visual check. Toss out any overly giant, oddly shaped, or obviously broken beads. This takes two seconds but saves you from a jam later.
Pro Tip: Let your patted-dry beads sit for 10-15 minutes before loading to achieve the perfect level of dryness.
Troubleshooting: Quick Fixes for Common Problems
-
Beads are breaking easily: You probably used water that was too warm or didn't soak them long enough.
-
Beads are too small: They need more time! Let them soak longer.
-
Inconsistent sizes: You might have mixed different brands or batches. Always use one type at a time.
Why GelToyNation Beads Give You the Edge
You can follow all these steps, but if you start with low-quality gels, you'll still get low-quality results.
GelToyNation Premium Gel Beads are formulated for superior performance:
-
Unmatched Consistency: Our beads grow to a uniform 7-8mm size for flawless feeding and accuracy.
-
Maximum Durability: They withstand high-impact firing without turning to dust in your blaster.
-
Designed for Performance: The right texture and density ensure a perfect barrel seal for maximum power.
Don't let bad ammo hold you back. Your blaster deserves the best.
Gear Up with Confidence
Preparing your gel beads perfectly is the simplest and most effective way to upgrade your gel blasting experience. It requires zero technical skill—just a little know-how.
By using the right water, allowing enough time, and properly drying your ammo, you'll ensure your blaster performs exactly how it was designed to: flawlessly.
Now you're ready! Load up, head out, and play with confidence.
Found this guide helpful? Check out more pro tips on our blog:
#GelToyNation #GelBalls #HowTo #GelBlasterTips #GelBlasterMaintenance #BeginnerGuide #GelBlasterAmmo #TacticalToys #OrbyBlaster


Comments (0)